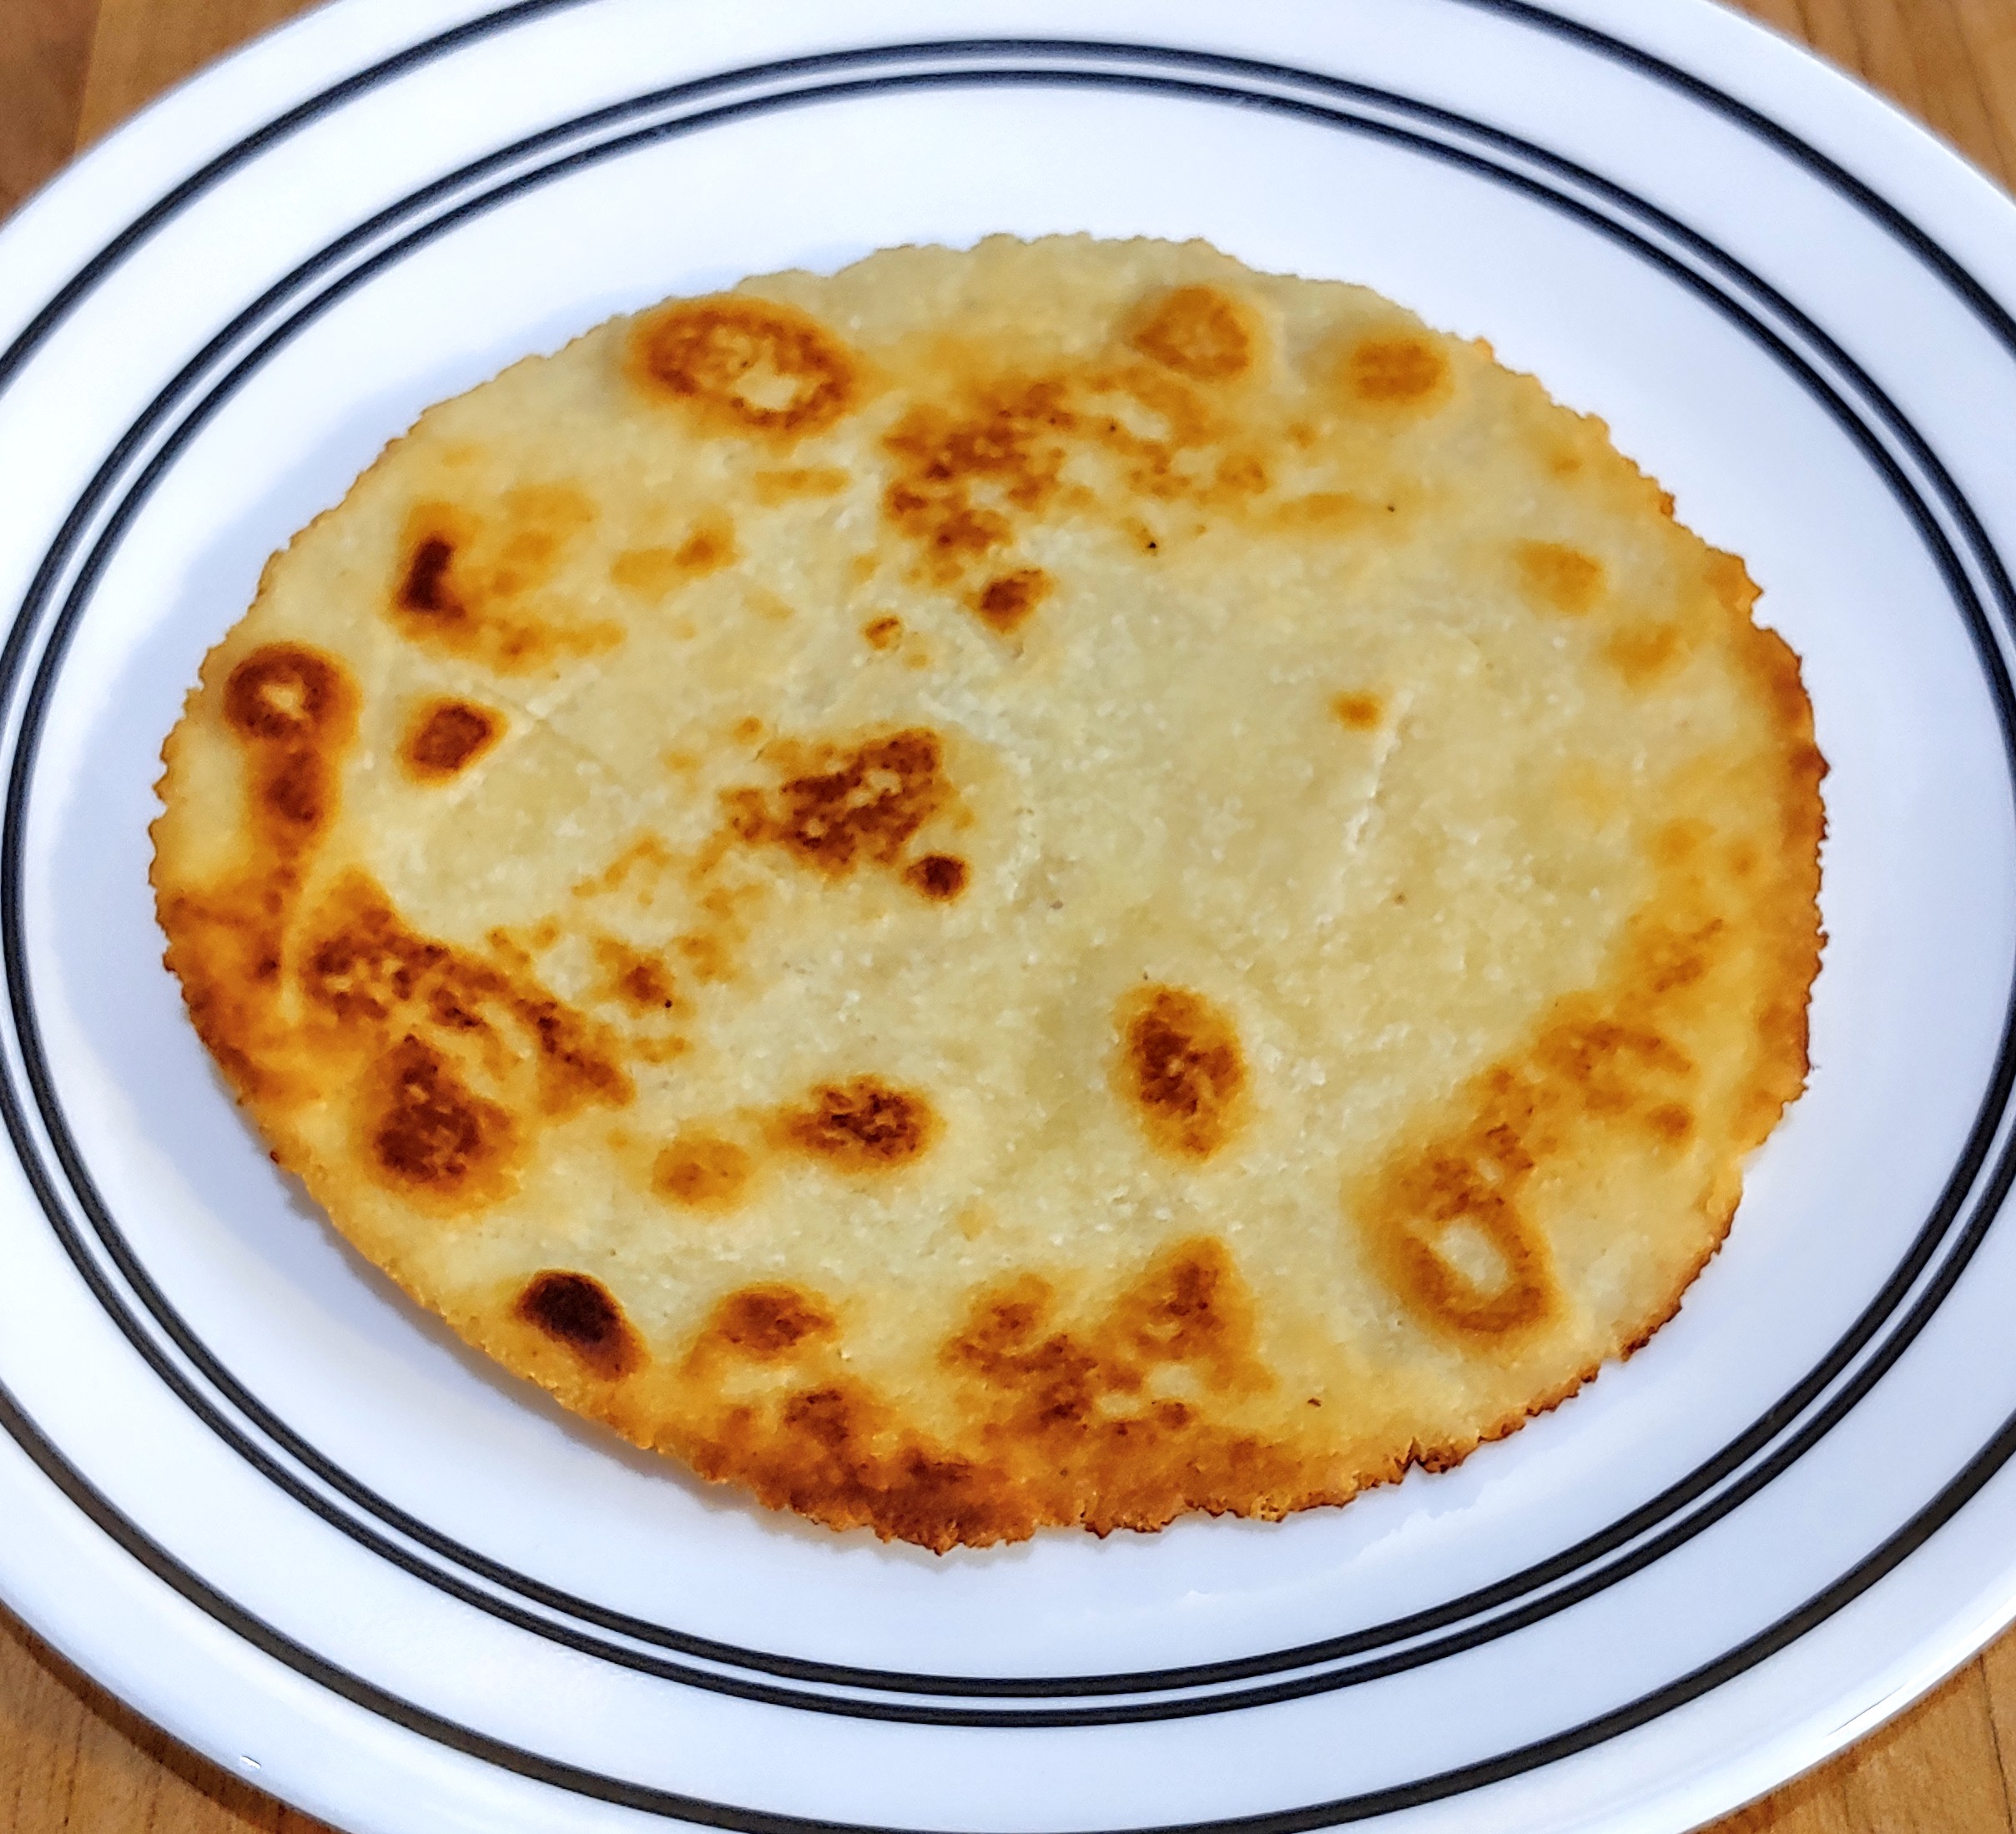
Low Carb Savory Tart Crust

A couple of weeks ago I made a savory cheese tart with asparagus from my mom’s garden. The crust turned out so well that I wrote up the recipe so I can make it again. I haven’t tried the crust without blind baking it first, so I recommend that method before adding filling or toppings.

1 cup super fine almond flour
1 cup grated Parmesan
2 oz frozen butter, grated
1 egg
1/2 tsp salt

Combine almond flour, grated Parmesan, grated butter, and salt in a mixing bowl. Using a pastry blender or fork, mash the flour into the butter and cheese until the dough looks like grainy sand. Add egg and stir until well combined. Press dough into pie pan, tart pan, or 12″ x 10″ baking sheet. Chill for 15-20 minutes in refrigerator. To blind bake: pre-heat oven 350°F and bake until light brown, 15-20 minutes. Remove from oven and add filling and return to oven until filling is cooked through and crust is golden brown, 20-30 minutes.

Asparagus cheese tart with savory crust
Posted in Breads, Gluten Free, Grain Free, LCHF, Specialized Diets | Leave a comment

Rhubarb Barbecue Sauce

It’s finally rhubarb season! I’ve been itching to create nightshade free rhubarb barbecue sauce since watching past episodes of Great British Menu this spring and seeing a chef make rhubarb ketchup. I don’t use a lot of ketchup, but I love barbecue sauce.

All ingredients for rhubarb barbecue sauce in a stockpot

I used local buckwheat honey to sweeten and flavor the rhubarb in my sauce. The flavor profile is similar to molasses so I used the more common ingredient when I wrote the recipe. If you don’t like the strong flavor of molasses, you can substitute half honey and half molasses or simply use any honey of your choice.

Smoked paprika can be substituted for liquid hickory smoke. It’s what I usually use, but I wanted this recipe to be completely nightshade free and not just tomato free like most of my fruit based barbecue sauces. I prefer Wright’s brand liquid hickory smoke as it doesn’t have extraneous ingredients.

Sweetness can be adjusted to taste after the sauce is cooked down by adding honey or sugar. I suggest adding only 1 tablespoon at a time until it reaches your desired flavor.

2 1/2 lbs rhubarb, washed, trimmed, & rough chopped
1 large yellow onion, rough chopped
6 cloves garlic, rough chopped
1/2 cup water
1/2 cup balsamic vinegar
1/4 cup molasses
1 Tbs liquid hickory smoke
1 Tbs ginger, grated
1 tsp salt

In a large heavy-bottomed stockpot, add all ingredients and stir to lightly combine. On medium heat, bring to a boil. Reduce to low and allow to simmer, stirring frequently until the rhubarb and onions are cooked through, about 45-60 minutes. Remove from heat and puree the sauce with an immersion blender or in batches in an upright blender. Sauce can be canned in jars in a hot water bath or frozen for long term storage. May last for several weeks in the refrigerator. Makes approximately 8 cups.

Half pint jars of canned rhubarb barbecue sauce
Posted in Condiments, Dairy Free, Gluten Free, Grain Free, Nightshade free, Sauces, Specialized Diets, Tomato free | Leave a comment

Crispy Low Carb Ginger Snap Cookies

After a few trial batches, I finally got the crispy ginger snap cookies I’ve been craving. There may be a touch too much molasses for some people both taste and carbs, so the amount can be decreased by a tablespoon or two and almond milk or water substituted.

2 cups super fine blanched almond flour, loosely filled
6 Tbs stevia-erythritol blend
6 Tbs butter, melted
1/4 cup black strap molasses
1 egg
2 tsp ground ginger
1 tsp ground cinnamon
1 tsp baking soda
1/2 tsp salt
1/8 tsp ground cloves

Preheat oven to 350°F and prepare two baking sheets with parchment paper or silicone baking mats. In a medium bowl, add almond flour, stevia-erythritol blend, baking soda, salt, ginger, cinnamon, & cloves. Stir until well-combined. In a small bowl, add melted butter, molasses, and egg. Whisk until well-combined. Pour the wet ingredients into the dry ingredients and stir until well-combined. Using a small cookie scoop or a tablespoon measuring spoon, scoop up 1 Tablespoon of dough and gently roll into balls. Dough will be sticky, so damp hands may make rolling easier. Place balls of dough on baking sheet 2-3 inches apart to allow them to spread. Gently flatten balls with fingers. Bake for 12-15 minutes, until edges are slightly brown and tops are cracked. Remove from oven and place baking sheets on cooling racks. Allow cookies to cool completely for several hours before serving for crispy texture. Store in air-tight containers or bags for up to a week.

Posted in Dessert, Gluten Free, Grain Free, LCHF, Specialized Diets | Leave a comment

Low Carb Mason Jar Bread

I’ve been experimenting with my low carb/keto mason jar bread a lot. While it’s good when cooked in the microwave, it’s even better when baked; I use my convection/toaster oven. I’ve baked buns in English muffin/egg rings as well as mason jar rings (without the lid). Both work equally as well as bread bun pans. Below is the original microwave instructions as well as oven directions. The slices of bread/buns are best when lightly toasted; they hold up better in sandwiches and don’t get soggy. Pro Tip: use the rings as forms for hamburger patties that will fit the bread/buns.

Mason jar bread baked in two English muffin/egg rings

1/2 cup almond flour
2 eggs
1/4 tsp baking powder
1/4 tsp salt
olive oil or coconut oil for the jar or rings

Microwave: Lightly oil the interior of a pint size wide mouth mason jar or large mug. Whisk together the rest of the ingredients either in a separate bowl, which I recommend, or in cooking vessel. Pour dough into cooking vessel and tap the bottom of the cooking vessel on the counter to reduce air pockets. Cook on high in a microwave for 3 minutes. Use a knife around the edge of the bread to release it from the vessel and gently remove the bread. Cut into 6 slices.

Oven: Preheat oven to 350°F and prepare a small baking sheet with parchment paper or silicone baking mat. Generously oil the inside of two to three cooking rings and set on prepared baking sheet. Whisk together the rest of the ingredients in a small bowl. Divide the dough into cooking rings and gently shake the baking sheet back and forth to level the dough and reduce air pockets. Bake for 12-15 minutes until the tops of the buns are golden brown and a toothpick came out clean. Use a knife around the edges of the cooking rings and gently remove the buns. Slice buns in half.

Two cheeseburgers served on mason jar bread baked in rings

Posted in Breads, Dairy Free, Gluten Free, Grain Free, LCHF, Specialized Diets | 2 Comments

Low Carb Faux Mac ‘N Cheese with Zucchini

I love mac ‘n cheese, but pasta doesn’t fit into my low carb lifestyle. I’ve tried popular faux low carb mac ‘n cheese recipes using cauliflower, but the strong flavor of cauliflower makes it less like mac ‘n cheese and more like cauliflower with cheese sauce. With the abundance of zucchini from my mom’s garden, I decided to try lightly steamed zucchini instead. It turned out great; I made it so many times over the past few weeks I’ve lost track of the number of zucchinis I’ve eaten. Once I added diced mushrooms with the zucchini and it was just as good. I tried a variety of high fiber flours as thickener for the cheese sauce and lupin is my favorite, but others work, too.

5-6 cups zucchini or summer squash, diced small
4 oz sharp cheddar, shredded or diced small
2 oz cream cheese
1/2 cup liquid (water, broth, plant milk, heavy cream + water, etc.)
1 Tbs butter
1 Tbs high fiber flour (lupin flour, coconut flour, oat fiber, potato fiber, etc.)
1 tsp salt, divided
1/4 tsp black pepper
1/4 tsp granulated garlic (optional)

Add zucchini and 1/2 tsp salt to a microwave safe bowl, cover, and cook on high for 3-4 minutes until partially cooked, but still toothsome. Set aside. In a medium saucepot, melt butter on medium-low heat. Add flour, 1/2 tsp salt, pepper, and garlic and stir until well-combined. Add liquid and stir until lumps disappear. Add cream cheese and allow to melt into the sauce, about 3-5 minutes. Stir sauce once cream cheese is melted and add cheddar cheese. Stir until cheese is melted. Drain liquid from zucchini and add zucchini to the cheese sauce. Stir until well-combined and heated through. Remove from heat and serve.

Posted in Gluten Free, Grain Free, LCHF, Side Dish, Specialized Diets | Leave a comment

Low Carb Flat Bread + Tortillas

This week I experimented with low carb egg roll wrappers and tortillas. The dough was really good and last night I had the idea to adapt it for flat bread. Today I decreased the xanthan gum, added baking powder, and pressed them a little thicker with my tortilla press before frying them in a little avocado oil. They turned out beautifully, though are too fragile to fold into wraps or tacos due to the decrease in xanthan gum. They’ll be great replacements for pizza crust, pita, and naan, though. I’ve included the minor changes required for low carb tortillas and egg roll/won ton wrappers at the end. Update: I also included options for crackers.

0612201324~2

2 cups super fine blanched almond flour
1 whole egg
1 egg white
2 Tbs water
1 tsp baking powder
1 tsp salt
1/2 tsp xanthan gum

In a medium mixing bowl, add almond flour, baking powder, salt, and xanthan gum. Whisk until well-combined. Add wet ingredients and stir until it comes together into a dough. Knead dough with hands until smooth, about 5 minutes. Divide dough in half and roll into balls. Wrap dough balls in plastic wrap and refrigerate for at least an hour and up to 3 days. Pre-heat griddle or heavy bottomed frying pan with 2 Tbs avocado, coconut, or olive oil. Divide each dough ball into 4. Roll each quarter into balls and press between two sheets of parchment paper with either a tortilla press or a rolling pin until approximately 1/4 inch thick. Gently separate the flat bread from the parchment paper and add to hot pan. Fry on each side until the edges are golden brown and bubbles form, about 2-3 minutes. Remove from pan and drain on paper towels before serving. Makes approximately 8 small flat breads. Leftover flat bread can be sealed in an airtight container for up to a week or frozen.

Tortilla option: increase xanthan gum to 1 tsp and omit baking powder. Press dough to at least 1/8 inch thick before frying. For egg roll or won ton wrappers: cut tortilla dough into rectangles or squares instead of circles, add desired filling, fold the dough carefully around the filling, and fry until golden brown and crispy.

Cracker option: increase xanthan gum to 1 tsp and replace water with melted butter or olive oil. After chilling, preheat oven to 350°F. With a sheet of parchment paper on top, roll each ball of dough out on a half sheet sized silicone mat or parchment paper cut to size. Cut dough into equal rectangles with a sharp knife or pizza cutter. With a fork or skewer, dock holes in each cracker. Transfer silicone mat or parchment paper containing crackers onto two half sheet bake pans. Bake for 12-15 minutes until crackers are light brown. Remove from oven and allow to cool completely before breaking apart and eating or storing.

IMG_20200611_183013_767

Posted in Breads, Dairy Free, Gluten Free, Grain Free, LCHF, Specialized Diets, Sugar Free | Leave a comment

Low Carb Carrot Cake

I finally adapted my infamous carrot cake recipe to grain free and sugar free to suit my current eating pattern. I decreased the oil, increased the eggs, added a touch of vinegar, substituted almond flour for wheat flour, and substituted my favorite stevia-erythritol blend for half the amount sugar. It turned out even better than I expected.

I added freeze dried blueberries to my test recipe since I had them on hand and they have less sugar than the traditional raisins or, my previous favorite, dried cranberries. The blueberries added a nice textural element missing from the soft cake as well as pops of flavor.

I frosted the cake with a double batch of my fluffy cream cheese frosting sweetened with the new Pyure brand organic confectioners stevia blend, though I had to add a little extra to get the same sweetness from granulated stevia-erythritol blend I powdered myself.

Usually I bake this cake as a sheet cake but this time divided the batter into two 8″×8″ square glass bake pans and made a square layer cake. It turned out just as well as a sheet cake. I assume it will be just as successful in two round cake pans or as cupcakes.

3 cups shredded carrots, about 3 medium carrots
2 cups super fine blanched almond flour
2 cups dried berries (optional)
1/2 cup avocado oil or light olive oil
1/2 cup granulated stevia-erythritol blend
5 eggs
3 Tbs ground cinnamon
1 tsp baking powder
1 tsp baking soda
1 tsp apple cider vinegar
1 tsp salt

Preheat oven to 350°F and prepare either a 9″x13″ baking pan or two 8″ cake pans with parchment paper and cooking spray (I prefer coconut oil spray). In a large mixing bowl, add shredded carrots, oil, stevia-erythritol blend, eggs, and vinegar. Stir until well-combined. In a medium bowl, add almond flour, cinnamon, baking soda, baking powder, salt. Whisk until well-combined. Slowly add the dry ingredients to the wet ingredients, stirring until well-combined. Add dried berries, if desired. Pour batter into prepared baking pan(s) and tap lightly on counter to level the cake(s). Bake for 30-35 minutes until a tester inserted in the center comes out clean. Remove from oven and allow to cool completely before frosting.

IMG_20200221_203322_348

Posted in Dairy Free, Dessert, Gluten Free, Grain Free, LCHF, Specialized Diets, Sugar Free | Leave a comment

Low Carb Brownies

I wanted an easy chocolate dessert to make for Valentine’s day and finding three varieties of Bake Believe brand stevia and erythritol sweetened sugar free chocolate chips at a local store moved brownies to the top of my list. I made a triple chocolate version of this recipe by using half semi-sweet chocolate chips and half white chocolate chips along with the cocoa powder. Next time I plan to try a dairy free version by skipping the chocolate chips and pouring a layer of my dairy free chocolate truffles on top instead.

I recommend pressing the batter firmly into the pan as they turned out a little crumbly without that step, but it didn’t effect the flavor. These are still the best tasting brownies I’ve ever made.

Update: I added one extra egg to the batter to improve the texture. I also made a vegan version with flaxseed “eggs” and topped with my truffle recipe. They turned out beautifully fudge-like.

1 cup super fine almond flour
1 cup sugar free chocolate chips (optional)
6 Tbs cocoa powder
1/3 cup stevia-erythritol blend
1/4 cup melted butter or coconut oil
1/4 cup heavy cream or full-fat coconut milk
3 eggs
1 tsp vanilla extract
1 tsp baking powder
1/2 tsp salt

Pre-heat oven to 350°F. Prepare an 8″×8″ bake pan with parchment paper and butter or coconut oil. In a medium bowl, combine almond flour, cocoa powder, stevia-erythritol blend, baking powder, and salt. Stir or whisk until well-combined. Add eggs, butter or coconut oil, heavy cream or coconut milk, and vanilla. Stir until well-combined. Stir in chocolate chips until evenly distributed. Spoon into prepared baking dish and spread evenly across the pan. Press batter into the pan with the back of the spoon or an extra piece of parchment paper for denser, more fudge-like brownies. Bake for 20-25 minutes until batter no longer jiggles when gently moved back and forth. Remove from oven and allow to cool before slicing and serving. Makes 16 brownies.

Posted in Dairy Free, Dessert, Gluten Free, Grain Free, LCHF, Specialized Diets, Sugar Free | Leave a comment

Low Carb Coconut Blondies

I’m made these low carb coconut blondies twice already and all my taste testers have loved them. The first time I made them with coconut oil and the second time with butter; both were delicious, just don’t refrigerate the coconut oil version unless you want very solid blocks of coconut blondies. Next time I plan to use half butter and half cocoa butter to increase the chocolate undertones. I added molasses for that warm, caramel flavor found in brown sugar.

2 1/2 cups unsweetened shredded coconut
1 cup packed super fine almond flour
1/2 cup stevia-erythritol blend
1/2 cup sugar free chocolate chips (I prefer mini chips)
6 Tbs melted butter or coconut oil
2 eggs
1 tsp molasses (optional)
1 tsp vanilla extract
1/2 tsp salt

Preheat oven to 350°F. Prepare an 8″x 8″ baking pan with coconut or avocado oil cooking spray. In a large mixing bowl combine melted butter or coconut oil, stevia-erythritol blend, eggs, molasses, vanilla extract, and salt. Stir together until smooth. Stir in almond flour until well combined. Add chocolate chips and 2 cups shredded coconut, reserving the rest of the coconut for garnish. Stir until evenly distributed. Pour batter into the prepared baking pan and pat down with the back of a spoon or spatula until the top is level. Bake for 20 minutes. Remove pan from oven and sprinkle the rest of the shredded coconut on top. Bake for another 5-10 minutes, until the coconut is golden brown and a tester inserted in the center comes out clean. Cool completely before cutting and serving. Store in an airtight container at room temperature for up to a week.

IMG_20200113_202843_182~2

Posted in Dairy Free, Dessert, Gluten Free, Grain Free, LCHF, Specialized Diets, Sugar Free | 1 Comment

Keto Marshmallows

A few weeks ago I inadvertently made sugar free marshmallows when attempting to make sugar free marshmallow fluff so I decided to post the recipe for those who are interested. I ended up eating most of them on their own, though a couple of them I added to my stevia sweetened hot cocoa where they melted beautifully. Note: since these marshmallows do not contain sugar they can not be toasted.

1 cup water
1/4 cup Swerve brand powdered/confectioners sweetener
1 egg white
2 Tbs gelatin powder
1 tsp vanilla
1/4 tsp salt

In a heat safe mixing bowl, add 1/4 cup water and sprinkle gelatin evenly on top of it. Set aside. Add the remaining 3/4 cup water, Swerve, and salt to a small saucepot on medium high heat. Bring to a boil, whisking periodically. Boil until the sweetener and salt are completely dissolved. Gently pour the boiling liquid over the bloomed gelatin and whisk with an electric or stand mixer on low, slowly increasing the speed as the liquid starts to cool down and get frothy. Once the liquid is no longer steaming, add the egg white and vanilla. Whisk until soft peaks form. Pour into silicone molds or a glass 8×8 baking dish. Chill until set, at least 4 hours. Unmold or cut into squares and enjoy. Store in an airtight contain in the refrigerator for up to a week.

Posted in Dairy Free, Dessert, Gluten Free, Grain Free, LCHF, Snack food, Specialized Diets, Sugar Free | Leave a comment